Pages

Thursday 22 June 2023

Submarine Cable Morse Key c.1880

 I have often seen these keys for sale on various sites, and also on some specialist "morse key collectors" sites.  Having visited the Porthcurno museum  (Porthcurno, Cornwall, England) many years ago, I had always wanted one to add to my own small collection. 

Recently, ( early 2023 ) I saw one advertised on Ebay for about £380, which was way too much for my pension to be considered as a purchase !.. a couple of days later, another one appears !. for a lot less !. so I put in my maximum bid at the last minute and won the auction... Price  ?  Just over £35.00..... 

Here is a pic of it. 


There are no makers names or identifiers on the key. and searches on google, only comes up with a similar key but have it listed as "unknown manufacturer". 
Trying to match up the key components to such as the "mushroom" knurled connectors, their locations, and other parts, only adds to the confusion!. some parts seem to indicate it could be an "Elliot Brothers" key... but again, other parts seem to point to a mix of three makers !.
The main differences
1. the front "bar" joining the two front contacts - does not appear on Elliott brothers keys
2. The central "lock" knob - does not appear on any of the three makers
3. the central "adjusters" - variations on all three makers.
4. the main "arms" of this key, are "flat thin "sheet brass", and anchored to the rear posts - making it an early form of Torsion Bar operation. 
Other makers use thicker brass arms, and a short "torsion" plate, if they use "fixed" rear end posts. 

As you can see, the key was not in the best of conditions, so I proceeded to de-construct it... Not as easy as first appeared, as the rear "binding posts" were (later found to be ) bent... and took a good while to uscrew. 
Once all the parts had been removed, I then used my electric drill, with rotary wire brush,  and gave them all a good clean. 
After cleaning them, I laid them out on a cardboard box, in the sun,


 and gave them three coats of clear lacquer, allowing them to dry off in the sun and then overnight to harden off, before I refitted them back to the base unit. 
and here is the result.


Because of the long distances involved, the dual keys worked on plus and minus voltages to send the dits and dahs. I have "rewired" this key so that I can use it as a "normal" straight key, to send "normal" international morse, via the internet, using a program called CWCOM. which uses modern technology of the internet in the same way as the original world wide web of undersea cables, connecting distant countries in the early 1880`s. 
From my observations of various features of this key, I am dating it to round about 1880 as a date of manufacture. 

If you are interested in sending/receiving Morse over the internet, please visit my other blogsite

https://morsepower.blogspot.com/

for all the information on how to download the software ( it`s free !) and how to set it up, including how to connect your morse key to your computer or laptop. 
Originally it was written ( by an Australian Radio Ham - John Samin ) for Windows 95, but still works on the laterst versions of WIndows.
It can also be made to work on LINUX and MAC machines....Please read relevant pages on the above mentioned blog. 


Monday 26 October 2020

A " Magnetic Straight Key" project

 I have been thinking about making a magnetic straight key for some time... as usual, other things got in the way, and the project stalled !..recently, it was brought to mind again.

Magnets have been used quite extensively on Paddle Keys.. but the incidence of straight keys using magnets instead of a tension spring is much rarer. Although there are some very nicely engineered keys on the market for a lot of money.

This project was, from the start, going to be "cheap and cheeerful"... I have acquired lots of rubbish from previous projects, and elsewhere, so my challenge was to make a magnetic straight key with what I had available, without resorting to spending any money !>

The concept is simple, but the actual carrying it forward, caused a lot of problems to be solved "on the fly"  so to speak.. for example.... the magnets... you need to find the "sweet spot" where they are "just" opposing each other... and measure that distance.... this gives the approximate height of the rocker arm... but it `s not simple trying to keep two magnets apart !   especially those from an old hard drive and some "near earth" types. They have a mind of their own and boy, do they jump !

Using an old morse key base, solved that problem !  the next was to find that "sweet spot"in real time and space !


 .

Using  the old key base... I found some wood , cut it into strips, and messed around with that, eventually finding "about the right" height for the rocker arm


The rest, they say, is simple... find something to support the rocker, drill a few holes in (hopefully) the right places, and put all your bits together. 

You can see the result in the pics and the video... 

here is a list of the "bits" and what they are doing  

Rocker arm supports... these are two clothes rail supports from a DIY job a few years back... 


Inside the cups ( 20mm dia) are two 19 mm dia ball races from another job... to make them fit snugly... I used strips of Masking Tape, on the outer edge until they just fitted nice and tight.. no glue ! ! . 

This presented another problem... as there was no "continuous" metal connection to the support, therefore no "continuity" for the "return" to make the key work!.. so I fashioned a brass strip into a "brush" on the brass rocker cross member, and back to the metal support!

The rocker arm is a short length of square acryllic tube from another job ! . 

Another " problem "  how to make the contact between the rocker and the base to complete the full continuity circuit, to make it work... solution , a long piece of copper wire. ( flattened at the end to squeeze between the plastic and the alluminium extender! .. ( also had to flatten it a bit to get the brass rod through! )

Under the black "dome" is some broken pieces of a magnet from a hard drive !. 

the black dome, is a cap from something or other, that just happend to be around.  to make that fit I used another of the 19mm bearings with a bolt through and the magnets sitting on top.. the black dome then push fitted over the whole lot... Neat ?   huh? 


The knob is from another key that I had a long time ago.. all that was left was the knob ! ... the "spark guard" disc is one from a "Bulk Purchase" of 10 when I needed only one ! .

the "floating magnet" is a "rare earth" type.. araldited on to the head of a brass bolt.... to make the "grip" on the top.. I used the outer ring from a TV coax plug, with a large nut underneath, and a dome nut on the top...


 Same thing for the rear Gap adjuster. ...

 The base has been kicking around the shed for some time ... so all in all, pretty cheap... and , hopefully, as you can see, not too shabby to look at !... 

I wired it up, and plugged it in to my "linear" connection box (where my other 17 straight keys are attached to my Laptop) and gave it a go..

Quite pleased and surprised at how well it works ! .. 

As promised, ... It`s not quality engineering....but it does work .! .


 Here is a short video of it in action on CWCOM ...  


CLICK THE  [ ]  Bottom right corner !


to show full screen


And for those "naysayers" who think that CWCOM does not work properly, because it is "no longer supported".. has not had any updates... and is not "open source".... here is proof that IT DOES WORK....

 A video of a LIVE QSO on line.....

(this is working, using Linux Mint 20, with WINE installed, to enable Windows "type" programs to run on a Linux Machine.) 

CWCOM Also works on  MAC Machines.... 

(see relevant pages on the blog      https://morsepower.blogspot.com/


CLICK THE  [ ]  Bottom right corner !


to show full screen


Sunday 19 May 2019

Illuminated Morse Key

I have been "tinkering" atound again.... got a few bits and pieces left over from previous morse key jobs... and over the past 6 months or so, have been toying with the idea of making an "illuminated" morse key... just for fun..

No workshop pics this time...  as the process was pretty similar to my "home made designer key" the "GEMSKEY"...

This time, I added a vertical  striker from an earth pin from a 5 amp UK power plug.  and a "crystal" knob....  together with a couple of plastic tubes to hold up the cross member for the vertical striker .

Blue led`s in the base of the tubes and a green led in a small hole drilled into the base of the knob.
all wired up "in parallel"... and then wired, by separate lead, to pins 5 & 7 of the USB to Serial Converter DB9 plug.

Now, when this is in use, it flashes at the same rate as I am sending.... SURPRISE SURPRISE... it also flashes when a distant station transmits too ! !!... I wasn`t expecting that... but hey ! .. no complaints ! ! .

The key functions as a "normal" key using pins  4 & 6... so the led`s can be unplugged independently of the normal keying function.

Interestingly... when CWCOM is "disconnected"... it remains unlit... but as soon as CWCOM is CLOSED DOWN... the key lights up on a permanent "mark"...  a good reminder to unplug it ! ! !..

Here is a short video.... the GREEN LED in the knob does not show up too well, and the BLUE LED`s seem to be a bit too bright on the movie... but they do light up the whole length of the plastic tube by refraction !...

Great Fun...

Wednesday 16 January 2019

Home Brew Telegraph Sounder

This little project has taken some time.... initially, I was just "messing around" thinking about it, then I did some research into how to make an electromagnet, and saw some "ugly builds" of a basic telegraph.  So... I decided that I wanted to make something a little bit better.... Did some more "looking" and saw a design that was pleasing to the eye, and did not seem to be that difficult to make. However... the original was made in BRASS.. and I could not work brass to that tolerance. nor had I got the facilities/workshop tools etc. to carry out such precise workmanship.. Apart from that.. I am not very good with working with metal anyway... so I decided I would have a go at making it in WOOD !.

        The original design, was for having two electromagnets.. however, I decided that one would be sufficient for my purposes. as it was only for " amusement purposes only".. and "something to do".

   
 The first thing to do was draw out the design, and consider the materials needed to construct it, then go out and buy them..Nothing fancy.. a piece of wood... a couple of nuts and bolts and some very large size rubber tap washers for the electromagnet. and of course, some "magnet wire".


( I bought the bar, intending to use two magnets, but decided against it )
I bought two grades of magnet wire from Ebay suppliers... the first attempt was with very thin wire.. 0.1mm diameter,  which broke very easily, when trying to wind on... It worked, but I was not happy with it...


so I use the thicker wire. 0.5mm diameter


From the initial coil of wire, I decided I wanted about 100feet ( 33mtrs approx). from a 90 mtr roll.  Obviously, I could not measure that amount, as I was winding, so had to use the back garden to lay out the wire, and then rewind it on to a temporary spool, that I made from two plastic lids and a piece of tubing stuck together with impact glue ! ..I am not related to Heath Robinson, as far as I know ! !


To wind the wire onto the bolt, I used my trusty hand drill, lodged into my desk drawer, so that I could guide the wire with my left hand and slowly crank the handle to wind on the wire. I made a "support" for the coil of wire jammed into a lower drawer.


Pics show the attempt with the fine wire... but the principle was the same for the final 0.5mm wire. I had no idea how much wire would be wound on, so just kept going, eventually, wound on 5 layers.

which finished up looking like this...


Once the coil was wound, I tested it using a 9v battery, and it worked !.. so now it was time to draw out the shapes from the design, and cut them out..  I decided that the best way would be to cut out the paper shapes and then draw round them on to the piece of wood.


Using a coping saw, and various "formers" covered with sandpaper, the parts were made as follows.


Once all the surfaces had been smoothed down several coats of undercoat paint were sprayed on, and rubbed down between coats.

The designs I had seen on the internet, showed using an elastic band, or a spring for the "return" of the rocker arm, however, I did not like the idea of an elastic band, nor did I have any suitable spring available.... brain in gear... I decided that if I made the rocker arm heavy at the opposite end to the "tongue", then it "should" return on it`s own... so I laid out the parts to gauge where the pivot point would be on the rocker arm

and found a large diameter screw threaded bolt, that I thought could be used as an adjustable weight, screwed in or out to adjust....


 As the rocker is made of wood, I needed a small metal plate that the electromagnet could react to.


I also needed to have a metal tongue at the thin end for the adjuster screw to face up to. and found a small piece of brass in my "bit box".. which did the job ! . 
After completing the prep work, and doing the spray painting,. It was time to put all the parts together for a "test bed run", to make sure that it all was going to plan.
 The original idea of the heavy screw at the back end of the rocker, did not work very well, once the metal plate and the tongue had been added, so I looked in the "bit box" for a small piece of brass bar that I could drill and tap to add extra weight...

As you can see, the tap did not quite make it "square" into the drilled bolt hole, but, hey,.. I`m not an engineer, and it works O.K. for me ! ! 

The base was made up from another old piece, kicking around the workshop. You will notice it has had several "options" of other projects tried out on it... so I found a stiff piece of card from an old box, and cut to size, then glued that on, eventually, a couple of coats of undercoat, and some nice black gloss finished it off. 

Before all the paintwork was done, it was necessary to "locate" the parts, and drill holes, and underneath scour out some room to put the 9volt battery, and wiring. 

 Eventually, all the parts were removed, and a final coat of gold paint applied to the upper parts, before finally refitting them to the base, and wiring in the rats tail socket so that I could connect a key and prove that it worked !..  
here is a few "stills"  of it..... 


and finally, the video to prove it works......


 click on the little square at bottom of screen for full screen... turn up the volume, and enjoy !. 

Friday 30 November 2018

CWCOM a FREE program to use morse over the internet

CWCOM was written by an Australian Radio Ham, for Windows 95, However, it is still in use today, and can also be used on LINUX and MAC machines.  The original author has discontinued his support for his original website, and I have taken 2.up the challenge, to keep it alive, by writing a Blogsite covering just about all aspects of downloading, installing, and using the program.

https://morsepower.blogspot.com/p/blog-page.html

CWCOM is an excellent tool for new users, and for experts, in the fine art of communicating using morse code. Because of the way the program works, it does need some initial "tweeking" to get the best experience, however, all those "tweeks" are listed with step by step instructions on my blog.  So . you have no excuse !... For new users, the program is somewhat "unforgiving", inasmuch as it will not allow you to make mistakes easily.... the mistakes WILL appear on screen, e.g. if you do not send a letter correctly, such as, O ---   but send it as -- - , then it will appear on screen as MT.. so, it encourages new users to be more careful and precise in how they form the letters with their key. It is a good trainer ! ! .. much better than getting your knuckles rapped ! ! ! ..

For experienced users, it can accomodate speeds up to 50 wpm... although I have never managed more than 24 wpm on any of my straight keys !...

Points to note about CWCOM..

1.  It is FREE   -   Free to use.... Free to download...   Free to install  (download info on the blog)

2. There are lots of things you DON`T NEED ! !

A licence, or

A rig  ( although a computer/laptop is required! ) or

An Antenna, or

To be a Radio Ham , or

A callsign ( you can make one up, or use your name if you are not a radio ham)

 To be a super speed sender...... all skill levels are welcome...

There are some things you DO NEED !

1. to be really interested in using Morse Code  ( CW is a mode, { like RTTY or SSTV or PSK } not a language !)  to communicate with like-minded people around the world

2.  to be able to make some conversation, longer than a CQ call, followed by a 599 report and 73`s.
( all qso`s are 599 on the internet, so what is the point of reporting that  ? ?  ! ! ! )

You can use the keyboard to type your messages,  however, it is best to use the Down Arrow key, or a Mouse, if you have not got a Morse Key....

You can attach either a Straight Key, or a Paddle key, to your computer,  ( see relevant page on the blogsite)

There is NO.......
  "Moderation",...
  "Log in"
  "Registration" 
  " Speed limit ! "

I am not a radio ham....  but have had an interest in radio since age 8,  when my father got me a IVALEK crystal set, and eventually, I joined the Royal Navy, as a Wireless Telegraphist in 1960 until 1972, I last used MORSE live on air in 1968 , until I found CWCOM.... I have been using CWCOM for the past 5 years, and monitor the default channel 1000 from about 14:00 G.M.T,  until about  22:00 G.M.T. DAILY..  So you can almost always find me (G3MS) on there to chat to or to ask questions if you have a problem.
Looking forward to having a nice long "ragchew" with you...
73 for now
dit dit


Thursday 28 June 2018

G.P.O. PATT 1056A Re-furb

Newbury Radio Rally, on the Newbury Showground, in Berkshire, England, is the only Radio Rally I attend..!  mainly because it makes a nice day out, and there are plenty of "junk" type stalls, with loads of actual radio bits and bobs !.. not too much in the way of computer stuff, so it is always interesting to look around.... I, generally, don`t go there with the intention of actually buying anything, although my interest in old straight morse keys, often is the spur to look closer at the tables to see if one is hidden underneath or at the back amongst unloved other items !...

On Sunday, I was lucky ! ! ! ... about half way around, I spotted a couple of keys, right at the front of the next stall, and made a quick dash ! ! ... one was the very common WT8AMP and the other was one I have been "lusting after" on ebay for a couple of years... The G.P.O.  ( U.K. Post Office ) PATT 1056A.

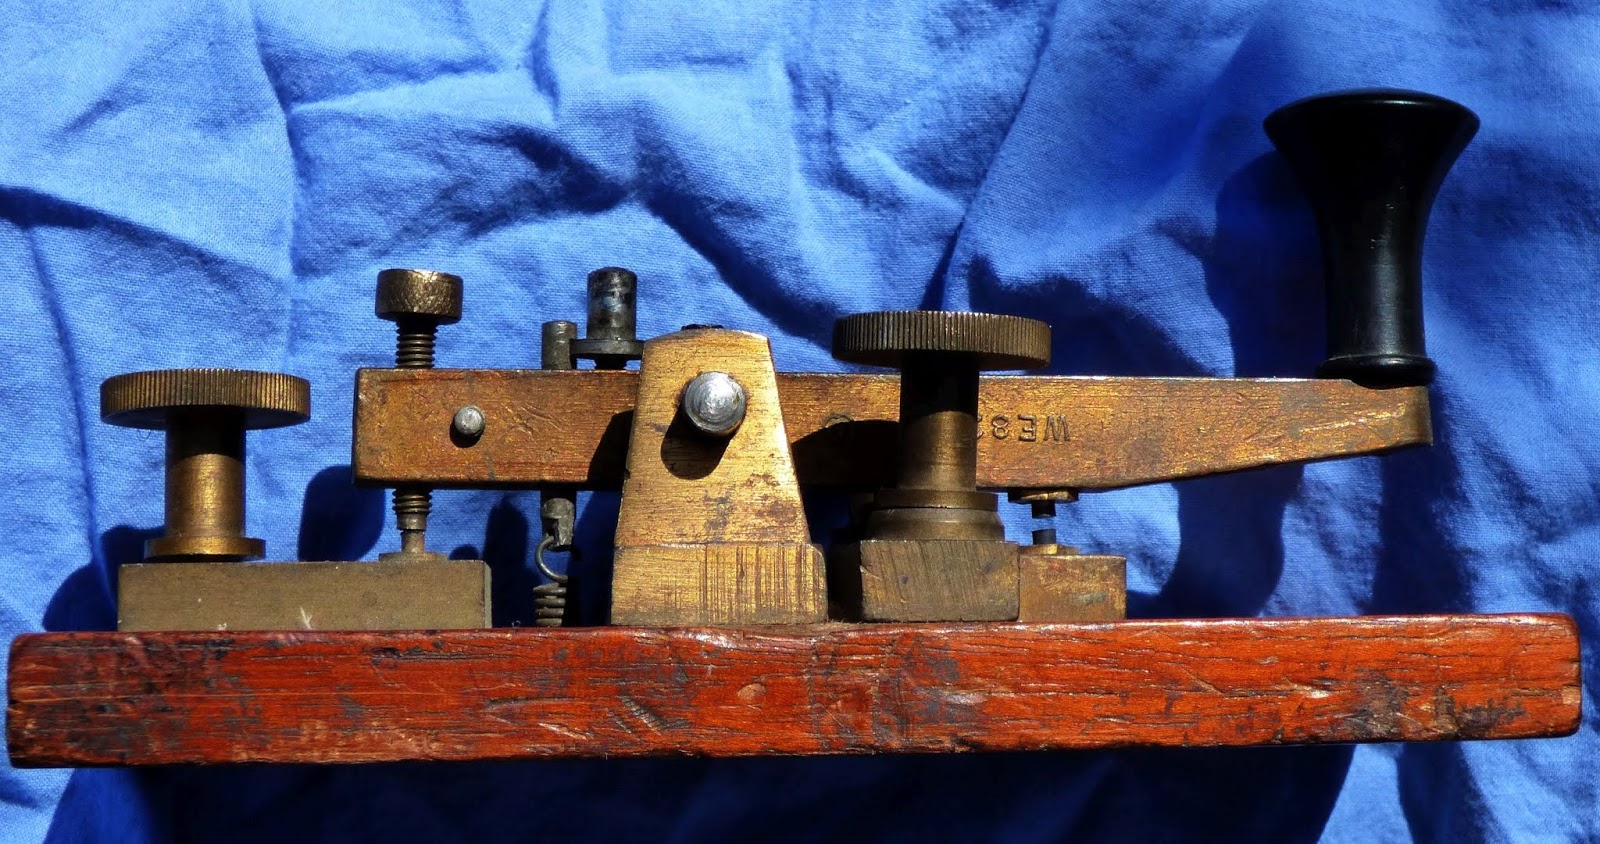
Historical note..... From research on the internet, it appears that this style of key was made from about 1830 to 1840 and still around in 1900... Probably a couple of manufactureres, one of which is "Walters Electrical Company"... and checking on that company history, it appears they "took over" the original company that made this style of key, in 1908.  As my key has WE8208 moulded into the rocker arm, I would date this key some time around that era... Bearing in mind, the original company, would probably have lots of "stock" parts available at the takeover time, and the "new" company (Walters Electrical) would most likely continue to build the keys with "old stock" before re-designing, at a later date. The key is well engineered, and uses a "unique" tapered pin for the rocker arm pivot point... by slackening the screw on the rocker arm, it is possible to tap gently on the right hand side, to take up some wear that may occur during use, or to "tighten up" the actual pivot rocking motion.


(click the pic for larger view)


As you can see from the pic, it was in a poor state, although some "purists" would have you believe that it should stay that way, for me, it was something that I would love to clean up... and I did ! ! .. I cleaned up with a price of £15.00  (about $20.00 usd)... These keys sell for above £40.00 on ebay.

After purchase, I celebrated with a nice cool Ice Cream Cone, and carried on around the rest of the show, but no other keys caught my eye... and so, we came home "the pretty route" , and then I started work on the "re-furb".

First , I had to remove all the candle wax, from the cavities underneath, so that I could access the brass bolts that held the parts on to the top of the Mahogany base.
 Here is a pic of the base with all parts removed.....


As you can see, it had been "misused" to say the least,.... someone had screwed a small "light bulb holder" near the front left corner, and dented the wood,


 so, I used some very course glass paper, on a flat surface, to remove that depression and at the same time clean up the rest of the dings !.


   Next I dealt with the very rough "countersinked" holes, where the key would have originally been screwed down to the counter at the operating position...


 I used my own countersink, in my electric drill for a minute or so,


 and that was the top surface finished.... a quick rub around on the edges,cleaned the dings from the sides, but the front end looked like it had been "sawn off" by someone who was not very good at woodwork... I got my small tenon saw, and my "square" in position to make sure that the end was finished off "true" and "square"..


.. unfortunately, the person who cut the end off, also cut off the "normal" identificating mark with the number PATT1056A indented.. I cannot replicate that, so I am leaving it "as is".

I did put a coat of varnish on, but was not "impressed" as it was very old stuff, and eventually just gave it several coats of good furniture polish, and buffed it up.


With all the parts lined up on the bench, it just needed my Electric Drill, and a rotary wire brush, to clean up all the brass parts.... leaving them looking like new...


Re-assembling the key, I noticed that the actual contacts were not lined up correctly, so I had to enlarge the holes on the front base ( anvil ) contact to give a little " play " or movement to get them lined up properly, and then screw down tight.

I also noticed, that the Anvil point surface was not " true and square"... it had a distinct slope to one side... which would cause keying problems, when in operation.   To rectify this fault, I placed the anvil in my vice, and found two small brass washers to fit over the contact, and then using them as the "true and square" surface, ran a fine file across until the file was running on the washers, ensuring a proper finish.


Once that had been checked with the set square, it was returned to the base, and lined up with the upper contact, ( rocker or hammer ) which, also needed attention to bring the two contacts into a "face to face" contact... Using some P1200 grit, wet and dry paper, I drew it through the "gap" between the two, with the grit side uppermost, quite a few times, until, when checking against the light, the two faces "matched".

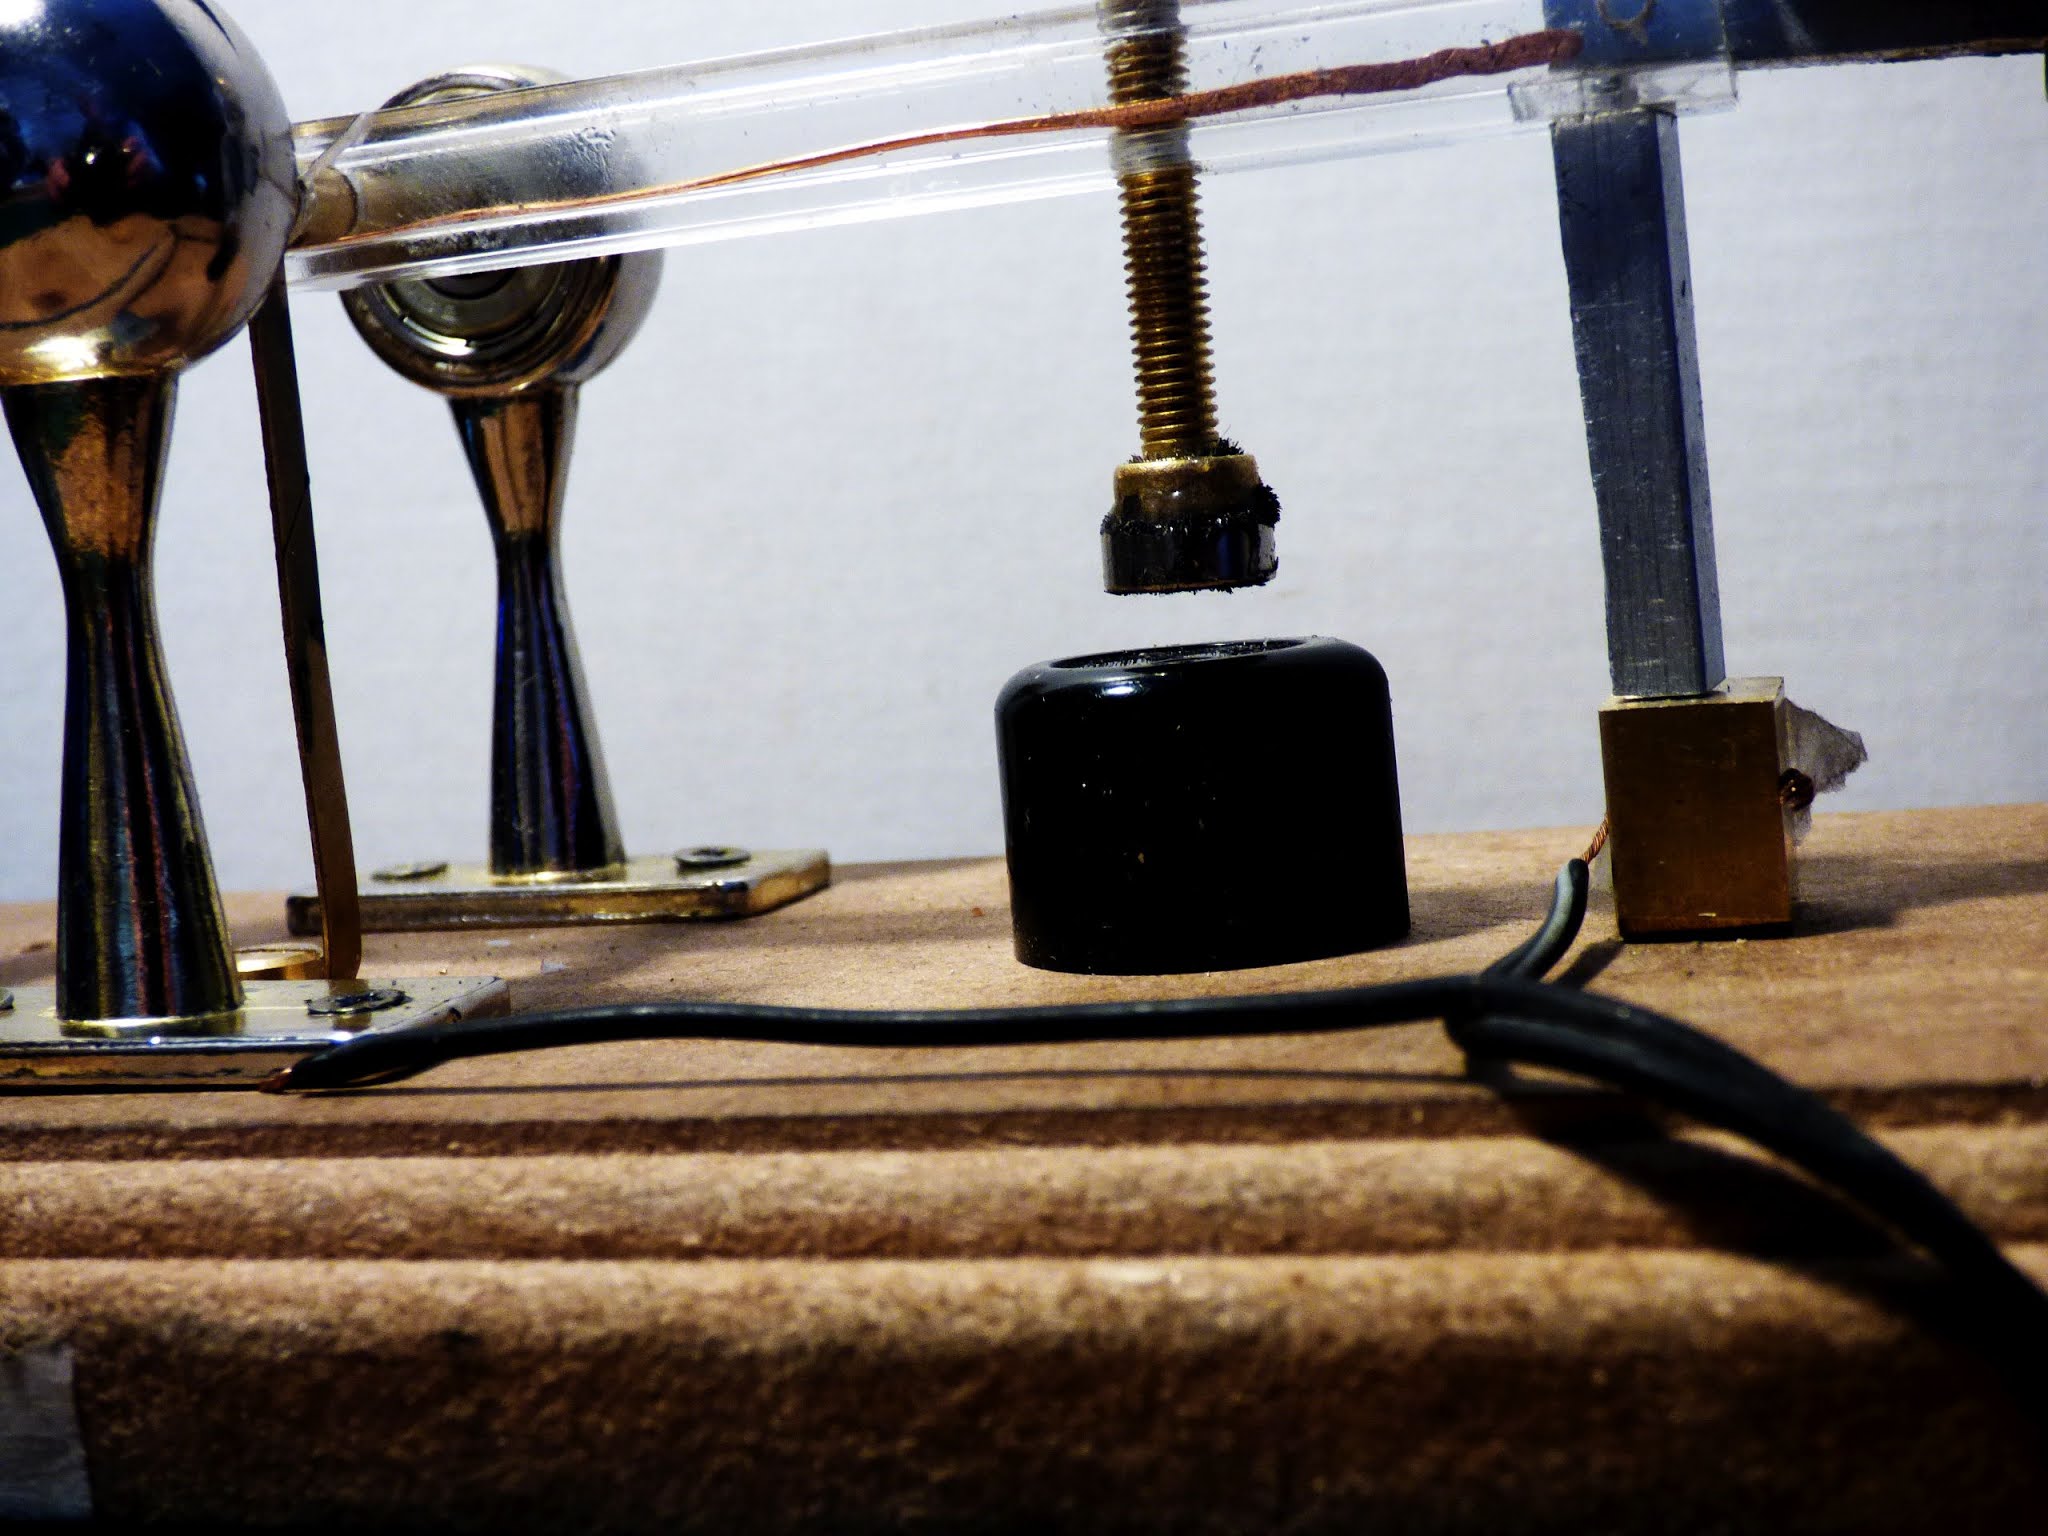
Finally, I had to do a bit of a bodge, on the knob, as it was chipped around the bottom edge.. and I also fitted a "spark guard" disc so that I could use the key in my usual ( unusual ) manner !.  I don`t think it "detracts" too much from the original, as I have seen other PATT 1056A  keys with a spark guard fitted.


All that needed to be done now, was to spray the whole key with some spray on furniture polish to slow down the discolouration...Then cut a piece of washing up sponge cloth for the base,.. . and to set the key up according to my descriptions on another page on here ( how to set up a straight key )..

Wire it up, and then plug it in to the Laptop, and open CWCOM... to let the world know it was back in action after over 100 years.. In use, after some minor tweeks to the adjustments, this key is a delight to use, and becoming one of many "favourites" in my collection ! ! ! .

so.... here is how it was.....


And here it is now..... all together again ! ! ...

 click the pic for larger view


click the pic for larger view.


If you would like to contact me, on CWCOM ( morse over the internet )... check out my other blog

https://morsepower.blogspot.com/p/blog-page.html

for information about it, download, and settings etc...


Watch the video,.... click on the square for full screen, and turn up the volume ! !

Hope you enjoy it as much as I do.